Setting Up Infusionsoft as Payment Gateway
If you have a merchant account already set up and working in Infusionsoft, follow the steps below to use your Infusionsoft merchant account to process and receive payments in your woocommerce site.
Steps
1. Go to InfusedWoo → Payment Gateway Settings

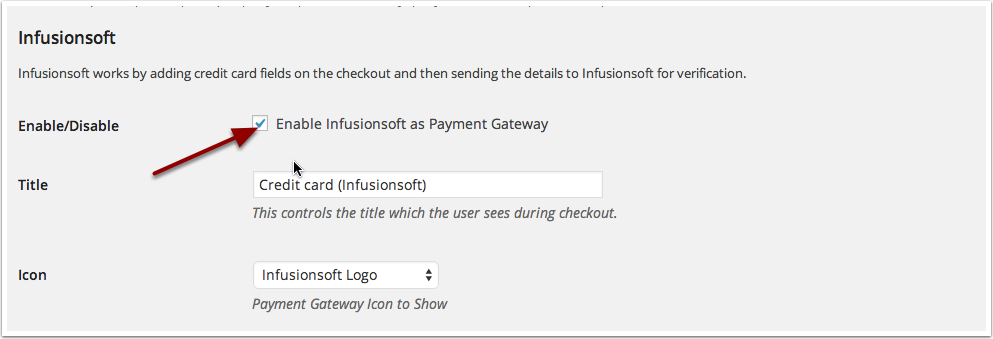
2. Go to Enable Infusionsoft as a Payment Gateway
3. Enter the Merchant Account ID.
The most important setting you need to enter is the merchant account ID. Make sure you are entering a correct merchant account ID. In Appendix: Merchant Account ID will guide you on how to find your merchant account ID.
4. Configure Infusionsoft payment gateway as preferred
In the same page, you will see some more options. Configure these settings as preferred:
TitleThis controls the title which the user sees during checkout.DescriptionThis controls the description which the user sees during checkoutIconChoose what payment Icon to appear.Application NameYour infusionsoft application name. This is same to the app name in the integration settings.API KeyThe API key of your Infusionsoft application. This is the same as the API key you entered in the integration settings.Accepted CardsYou select the type of credit cards that is allowed for the checkout process. Require CVV on checkout - Check this if you require CVV on checkoutAllow customer to select saved credit cards from infusionsoft?Check this if you allow customers to select saved credit card.Having Issues with the themeSome themes may not compatible with the plugin and will cause issues on the appearance of the payment fields. Tick this setting if that's the case.Turn on Test Mode?If turned on, all orders will be approved and marked as paid in infusionsoft but credit card will not be charged.